Food Waste Hack for Apartment Dwellers
Author
Published
4/29/2018
Despite increased conversations in urban areas focused around cutting waste, 40% of all food produced in the United States – about 133 billion pounds – is wasted every year, with the majority ending up in landfills according to the United Stated Department of Agriculture (USDA).
As spring is in full-swing, online forums and articles abound on gardening, plants, soil and especially composting, as a way to reuse and recycle organic matter scraps back into usable, nutrient rich soil. Composting is regarded as an admirable and sustainable practice that is gaining traction among businesses and individuals, despite some logistical obstacles.
One of those obstacles to individuals who desire to compost is limited space. How do you successfully compost in an apartment with no access to land or garden? The answer is a bit unconventional and may cause a slightly negative reaction, but hear me out – WORMS.


Vermicomposting is the use of worms to convert organic waste into compost. If done properly, it should not give off an odor, and is an easy, clean way to compost in a small space. There are a few different options for containers for your worms’ home, including purchase a worm composting bin online or creating your own.
To create your own, you can use a plastic bin of any size with holes drilled in the bottom and the lid, with something to catch the drainage below, like another plastic bin, cardboard or even a stack of newspaper. The drainage or castings will be the nutrient rich refuse referred to as “black gold” that is so beneficial to return to the soil, and can be dumped regularly.
“If you don’t have access to your own garden, you can use the castings in household plants, windowsill herbs, or an apartment flower garden,” said Carrie Milligan, Program Coordinator for the Utah Agriculture in the Classroom program at Utah State University.
Vermicomposting castings can increase moisture and nutrient retention in your soil, contains rich nutrients like phosphorus, copper and zinc, along with lessening crusting and other physical damages to soil in arid climates, according to H. Waldbillig and Roslynn Brain of Utah State University.
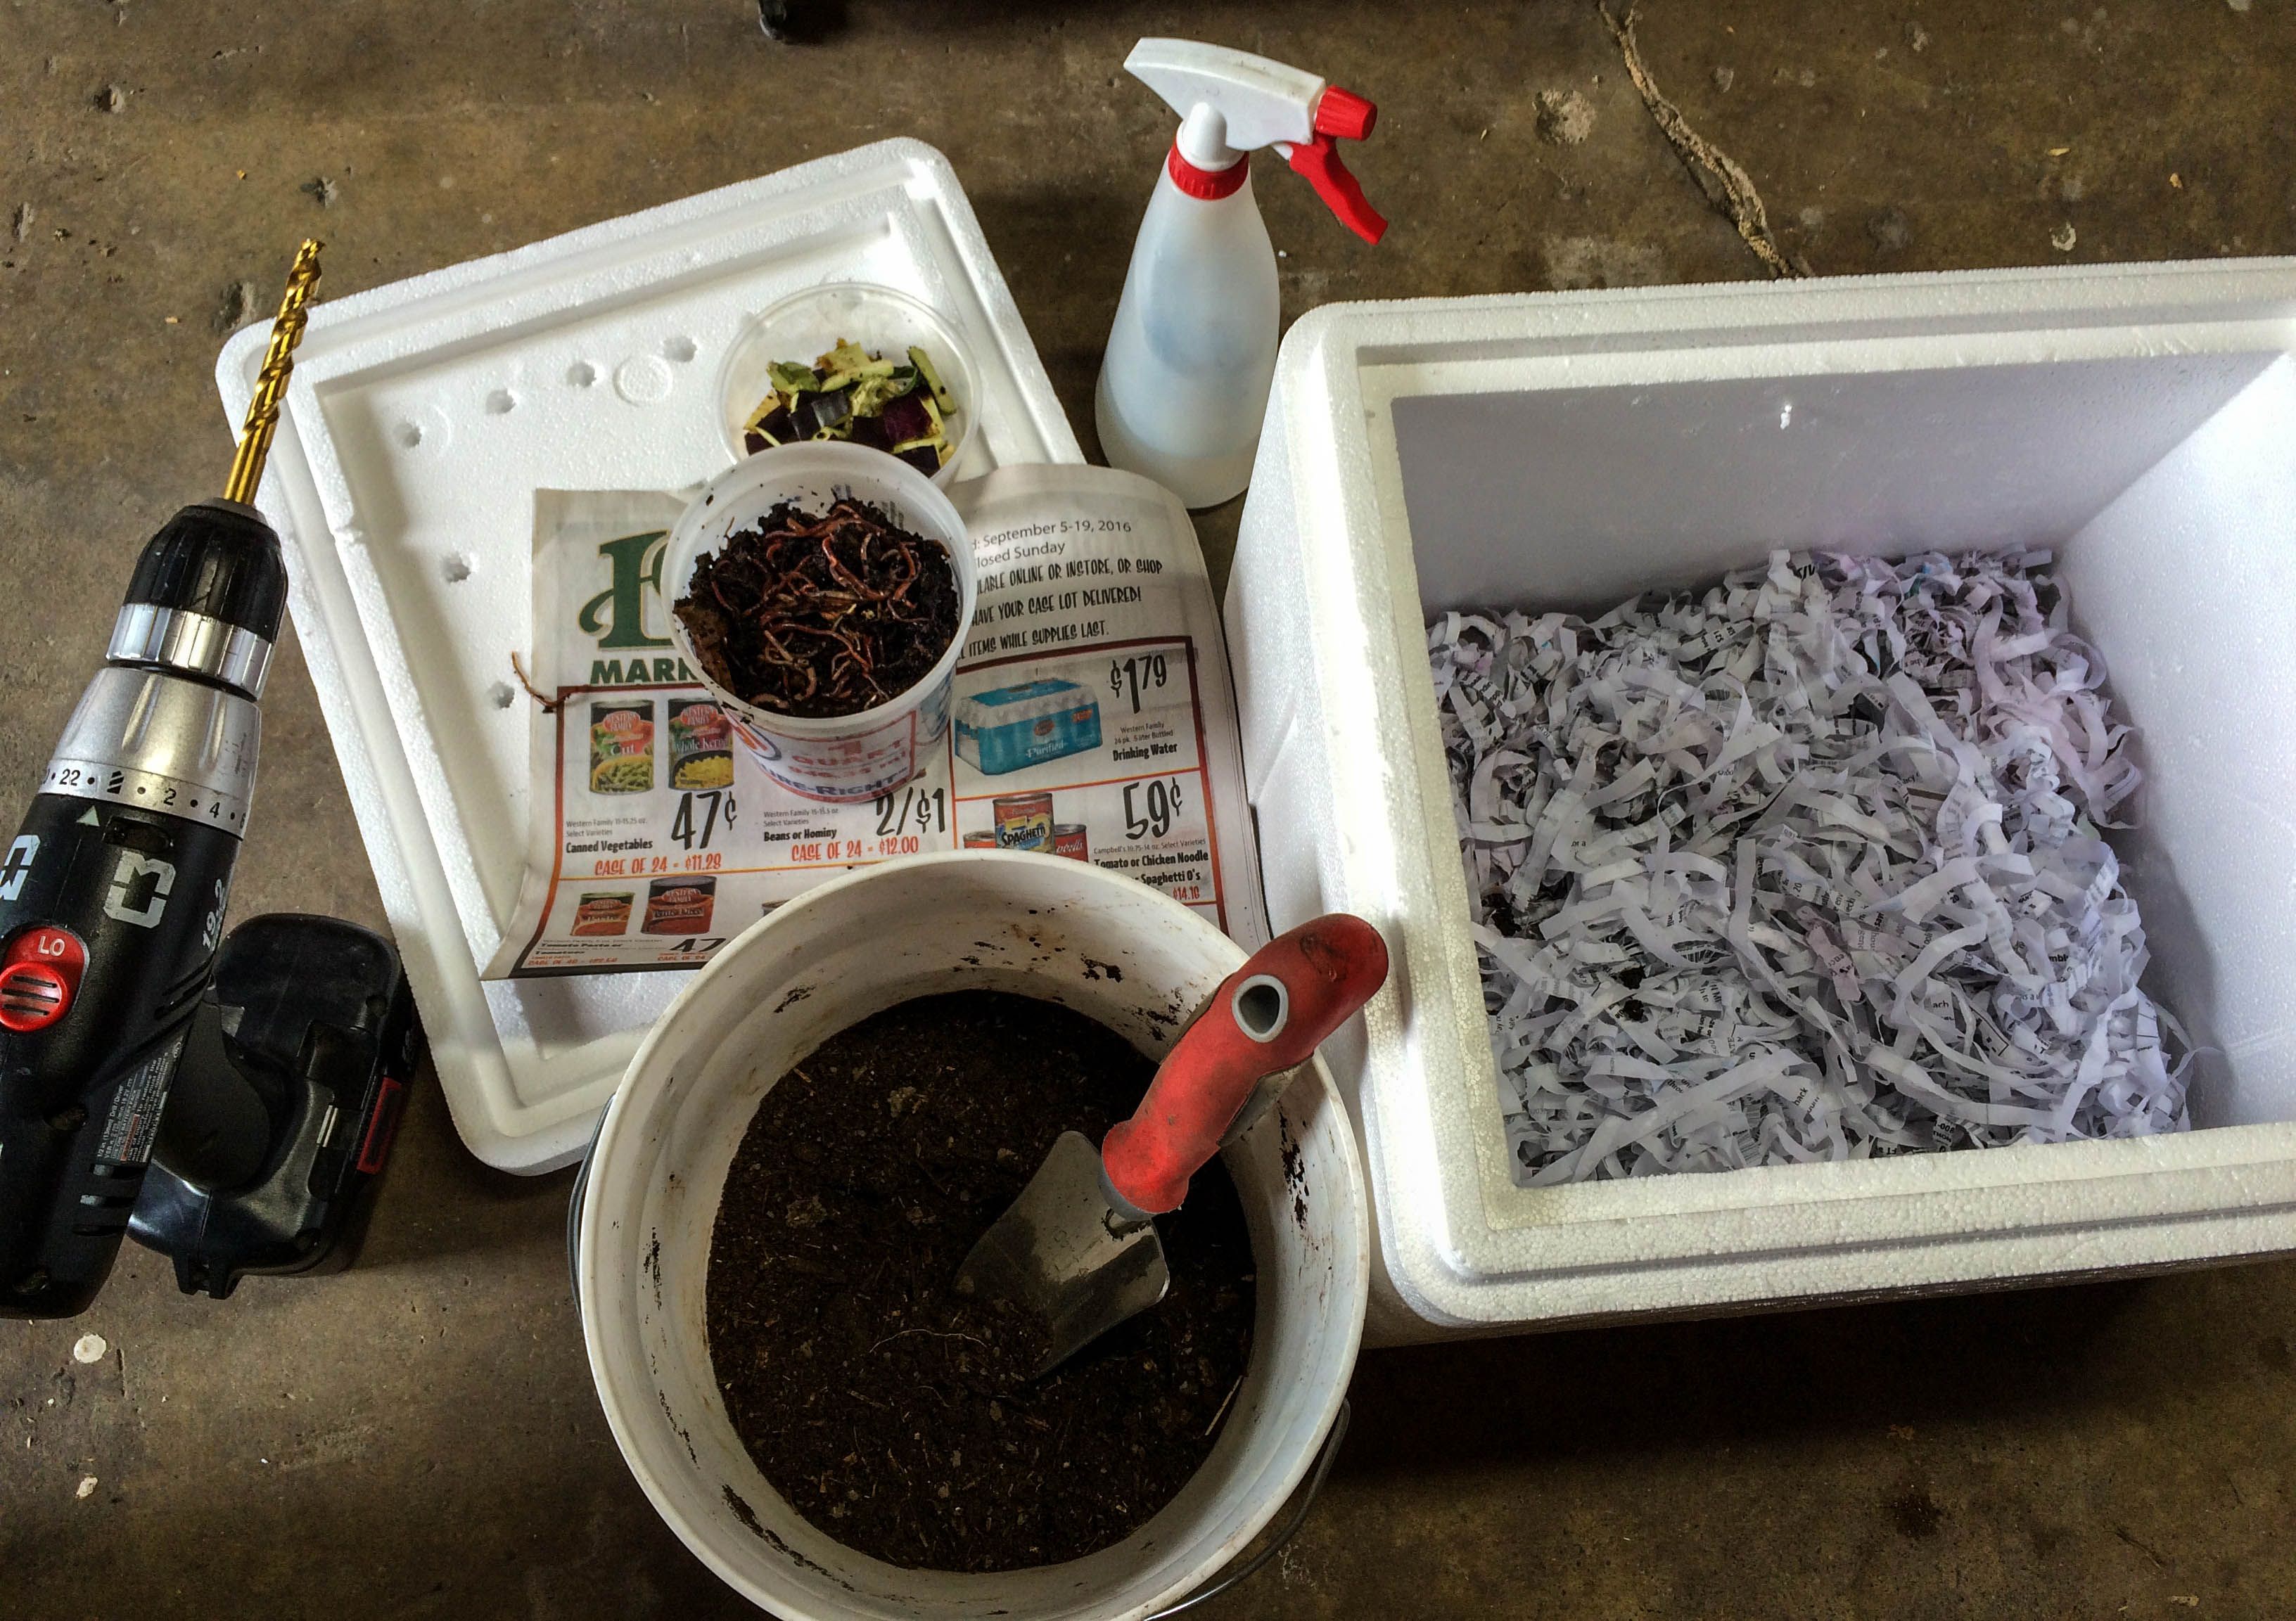
A second container option is simply a Styrofoam cooler from your local grocery store with holes poked in the lid. The only downside to this option is that there will be no way to regularly filter out the castings.

Containers can be kept under the sink, in a garage or basement, as worms thrive best at temperatures between 55 and 77 degrees Fahrenheit.
Once you have your container ready, fill it with regular potting soil (without fertilizer) and shredded newspaper pages, in preparation for your worms.
“You can order your worms on Amazon,” Milligan said. “Or your local implement store or local garden center can sometimes order them for you.”
However, no matter where you order them, be sure to order red wrigglers, not night crawlers or any other type of worm not suited for composting.
When your worms arrive, depending on how they’re packaged, follow the instructions included to re-hydrate or wake them up from their travels. Put your worms in with your soil and newspaper shredding and moisten thoroughly, then you’re ready to start!

Depending on how many worms you have, you can then start adding your composting materials. If they are overwhelmed with the amount, the bin will start to smell to let you know they can’t keep up.
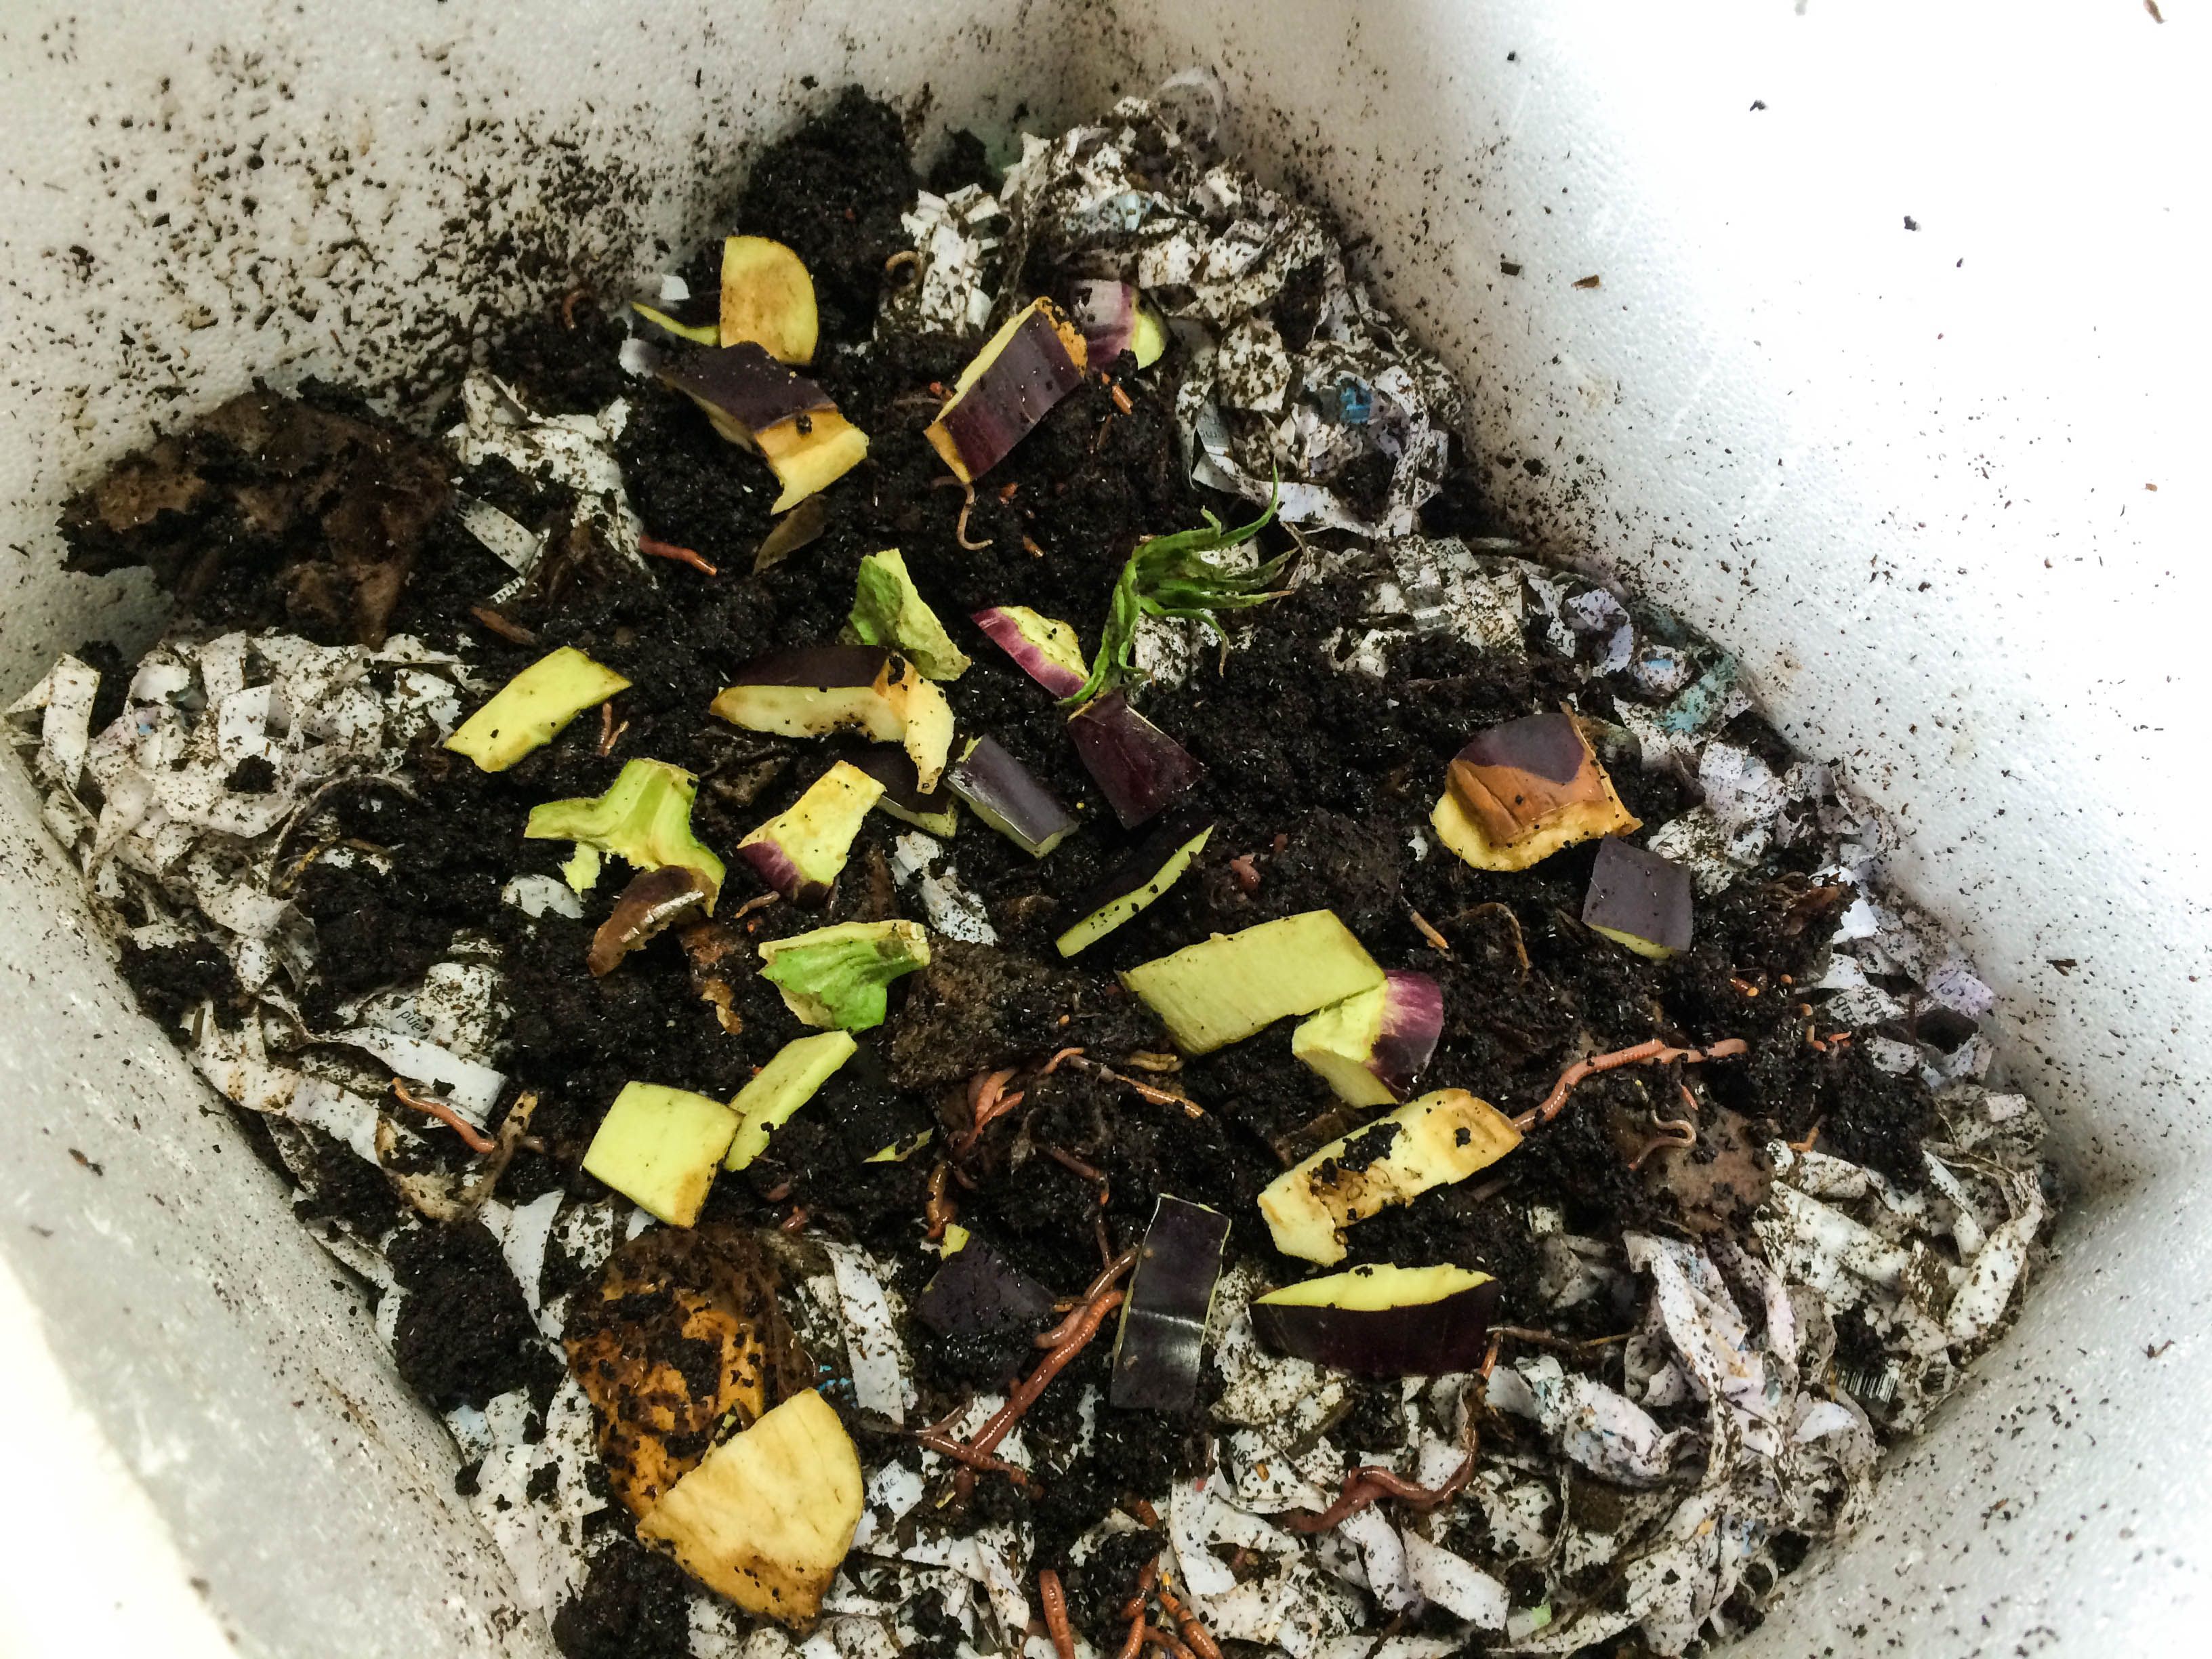
Materials they can compost include fruits and vegetable scraps, breads or grains (without any butter/spreads), coffee grounds, tea bags, egg shells, leaves and clippings.
Do not put in any of the following: meat scraps, oily products, dairy products, or spicy food scraps.
Though it may not be for everyone, vermicomposting is an easy way to save you money on fertilizers and reduce your environmental footprint. More extensive resources about creating your own composting bin can be found at www.utah.agclassroom.org or USU’s resources at https://bit.ly/2GhQqCH.
Want more news on this topic? Farm Bureau members may subscribe for a free email news service, featuring the farm and rural topics that interest them most!
